N9 Digital Hub User Guide

N9 Digital Hub User Guide
Turning the system on
Use the touch panel in the middle of the room between the two 98" displays, press anywhere to turn the system on.
Note: The touch panel on the right controls the room lighting.
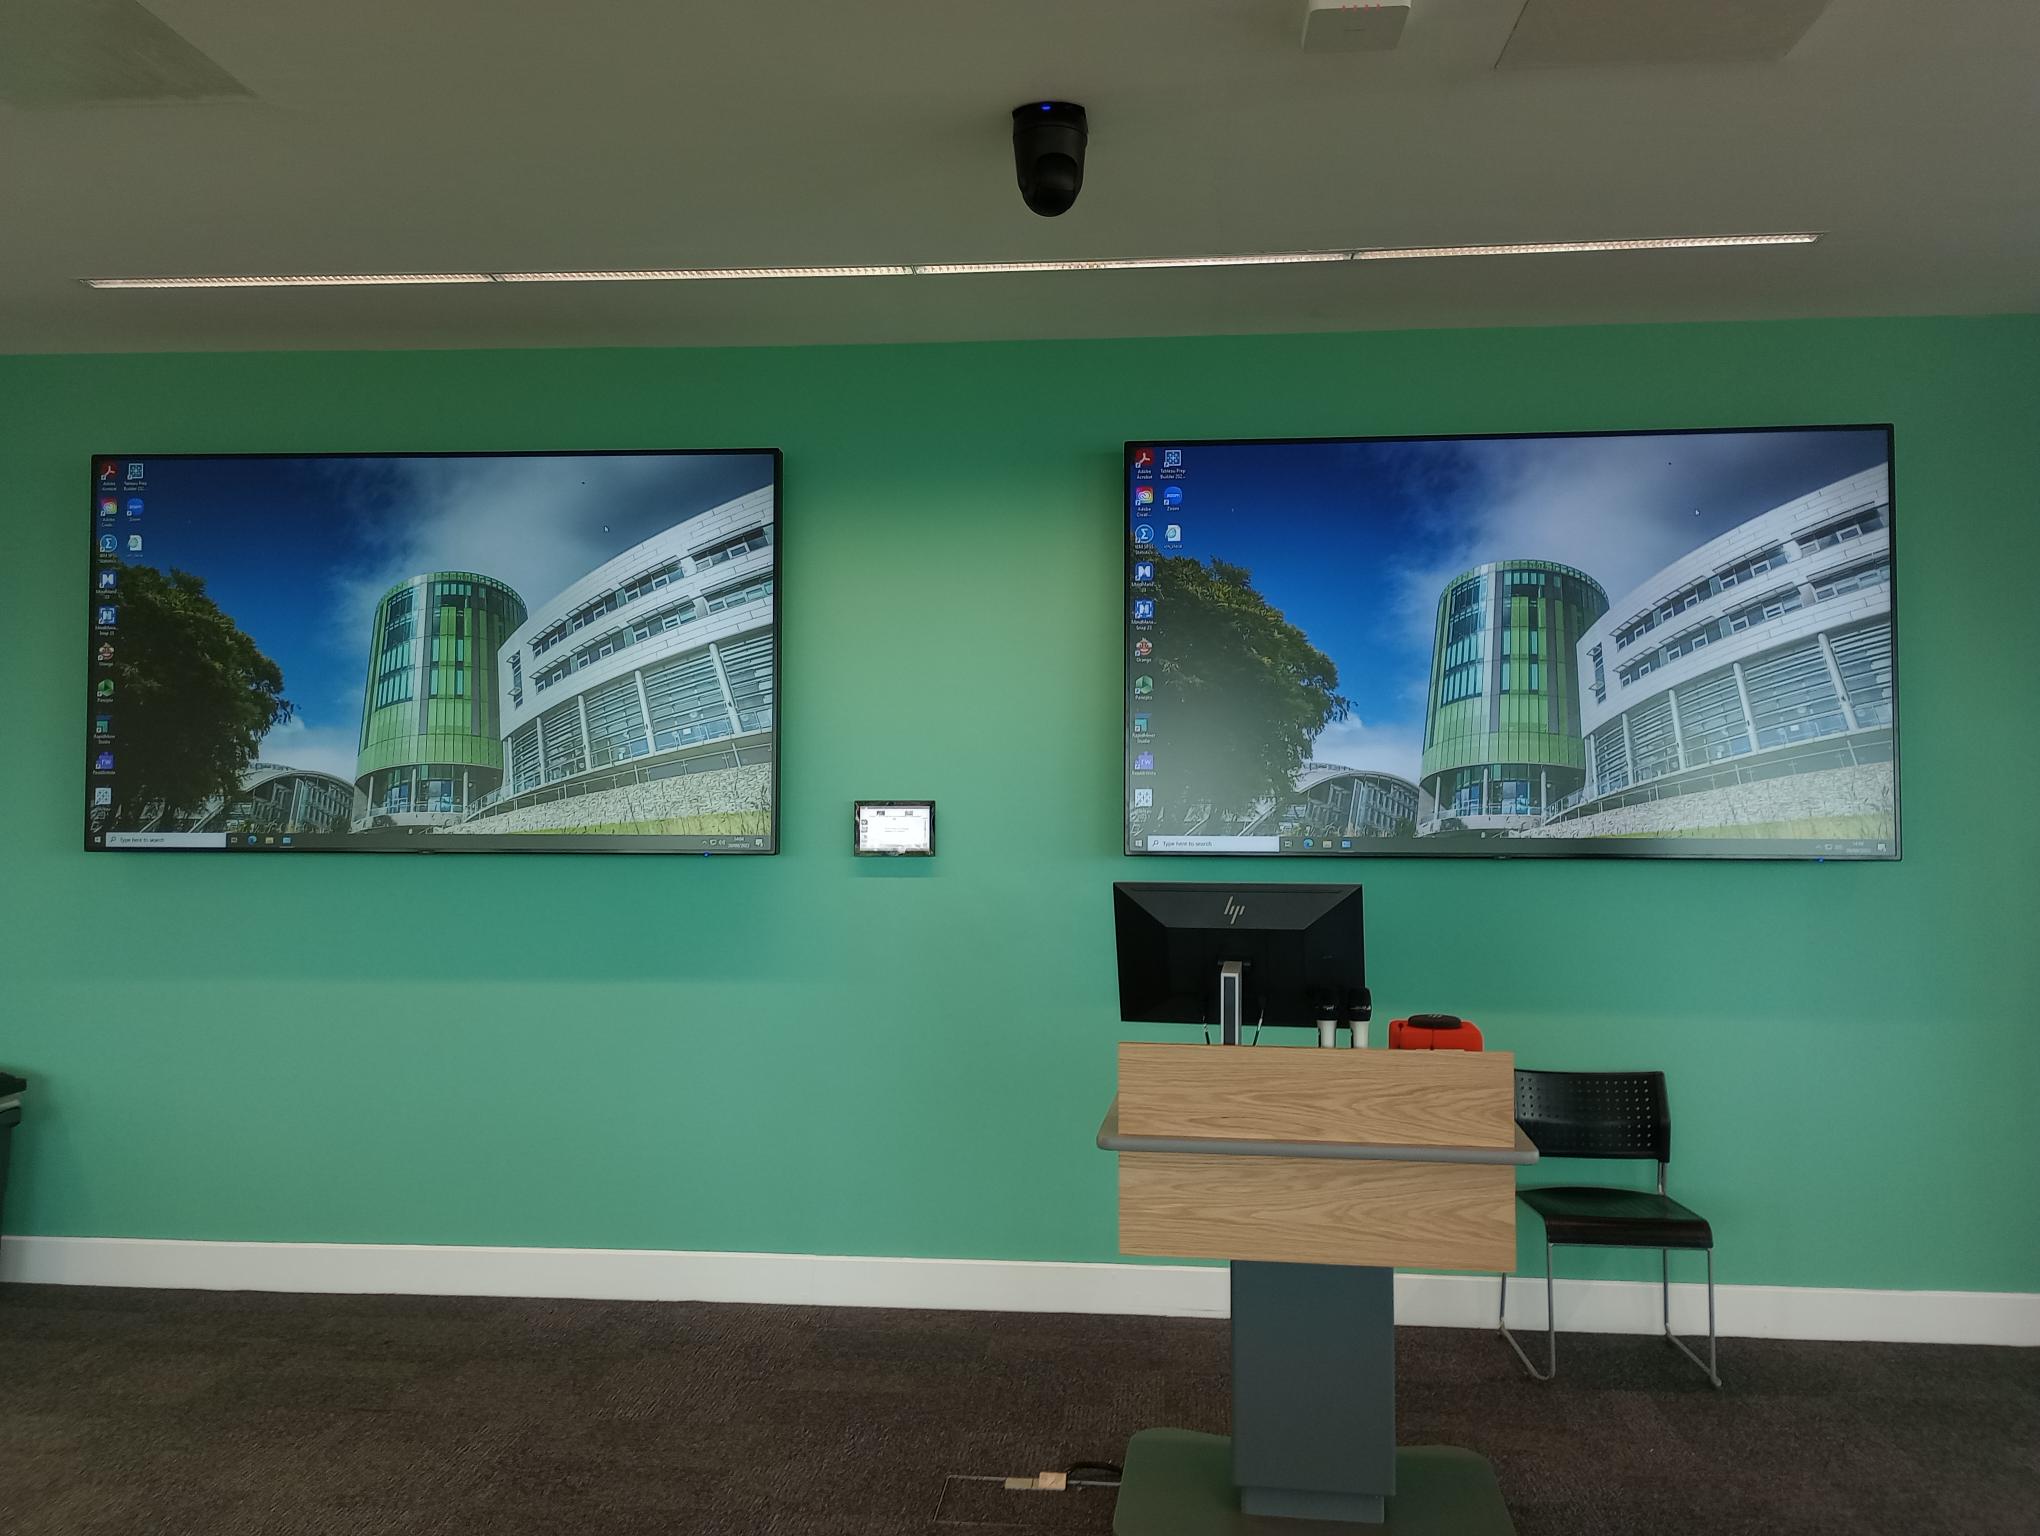 Touch panel location
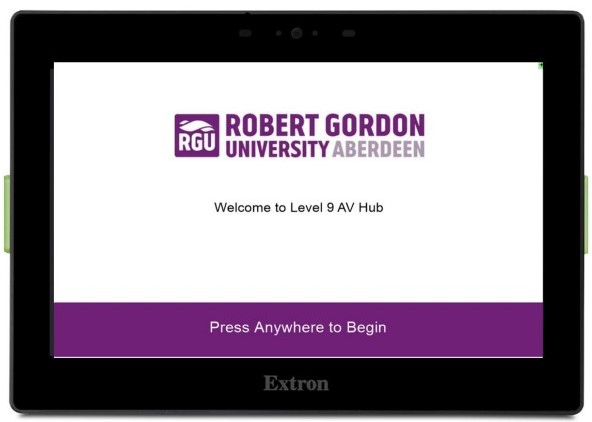 Touch panel display after activation
Room mode
Select your required mode to begin:
-
Teaching Mode will turn every display screen on and show the PC on start up to all displays.
- Event Mode will turn on the two 98” display screens and show the PC on start up to each display.
Return will go back to the previous page.
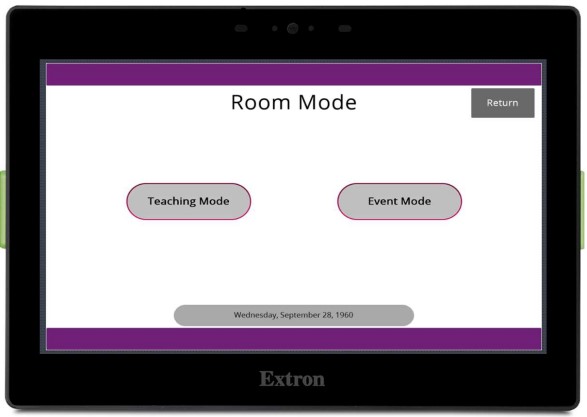 Select Teaching or Event Mode to begin
Bringing Your Own Device (BYOD)
To connect your device to this display use the one of the following key combinations:
- Ctrl+K (Laptop)
- AirPlay (MAC)
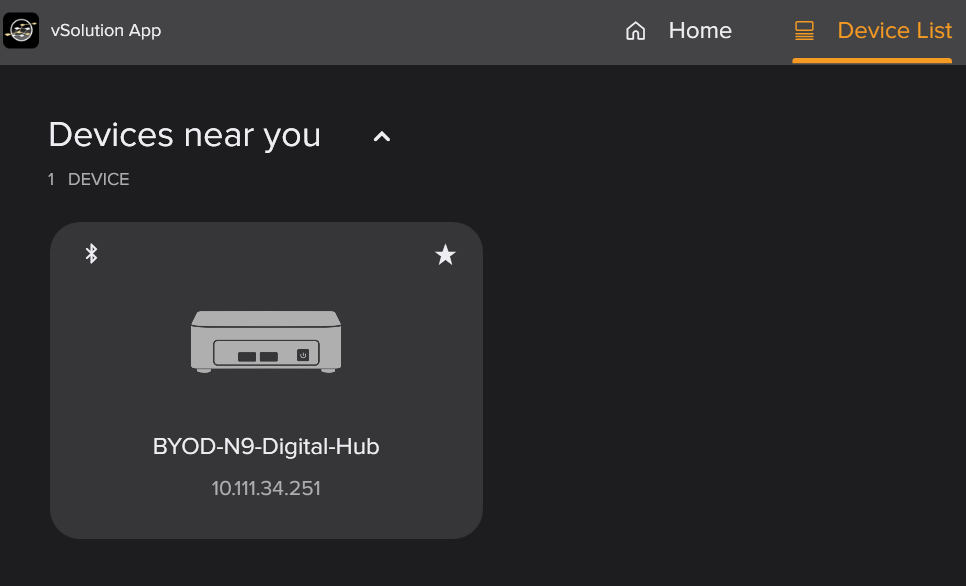
Select “BYOD-N9-Digital-Hub” from the Device List and enter the pin shown on any display screen.
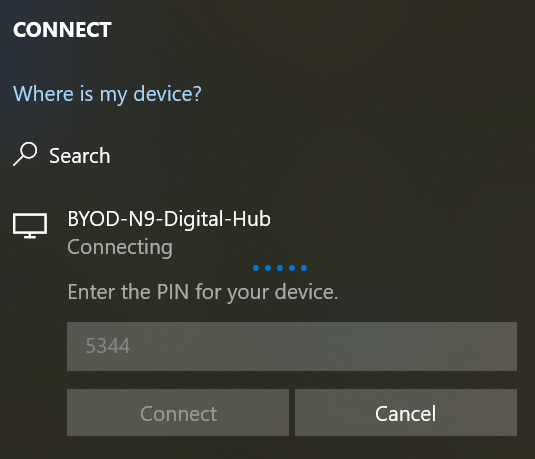
vSolutions screen sharing
Download the vSolution app to screen share, this can be accessed from:
- Company Portal (Laptop)
- RGU Apps (MAC)
Select “BYOD-N9-Digital-Hub” from the Device List and enter pin shown on any display screens.
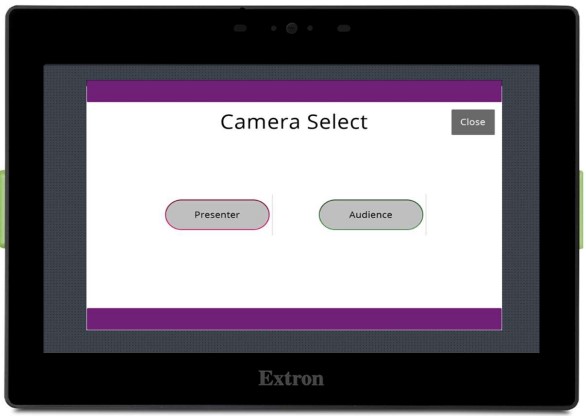
Camera Select
This screen allows users to decide which camera to control.
- Audience camera is facing audience above podium
-
Presenter camera is facing presenter in centre of room
The Close button will return to the main page.
Camera Control
Here users can Pan/tilt, zoom and use pre-determined camera pre-sets.
Camera tracking follows either the audience or the presenter depending on which camera is selected.
The Return button will return to the main page.
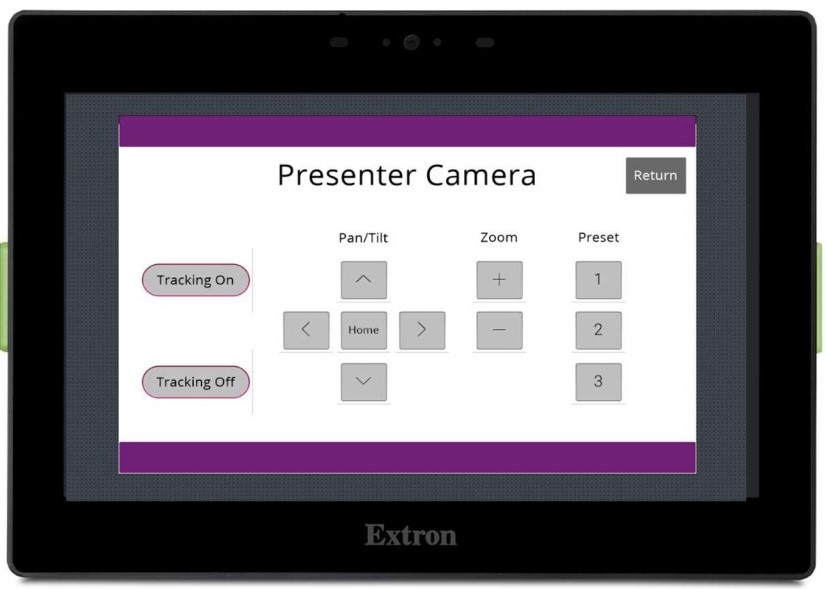 Camera controls should be adjusted prior to beginning
Microphone Control
Here users can control the Microphone volume and Mute the mics.
It is recommended that users check the settings for their chosen device.
Return microphones to their charging docks after use.
The Return button will return to the main page.
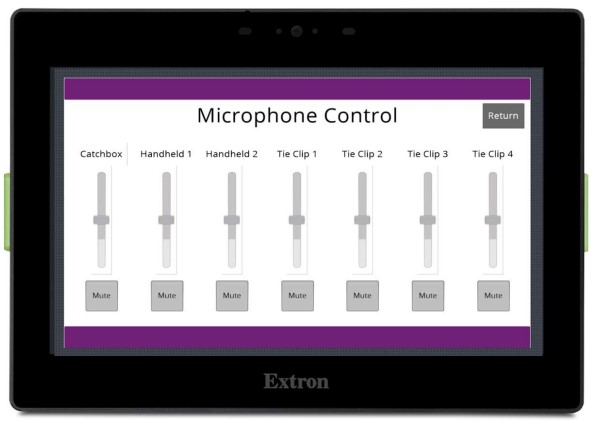 Use the sliders to adjust volume controls for individual devices
Help Screen
Use the Help screen if you experience any technical difficulties.
The Close button will return to the main page.
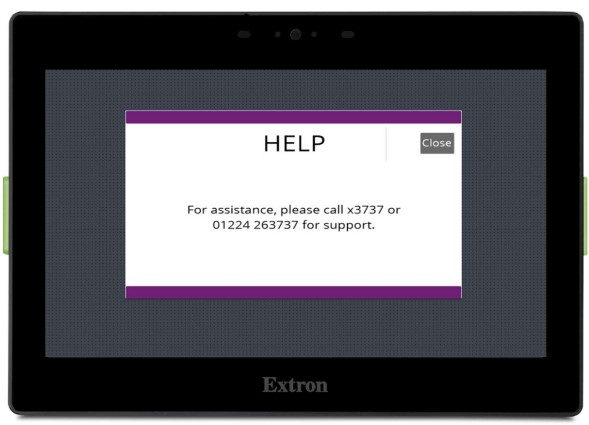 Contact the IT-AV Team for Support
Exiting the session
Power down button will shut down the system after use.
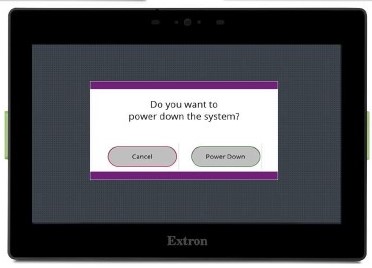 Power down the system after use