Student Printing - How to guide
Printing and Photocopying facilities are available throughout the University Campus for Students
Uniflow - Adding Print Funds
Modified on: Wed, 10 Jan, 2024 3:24 PM
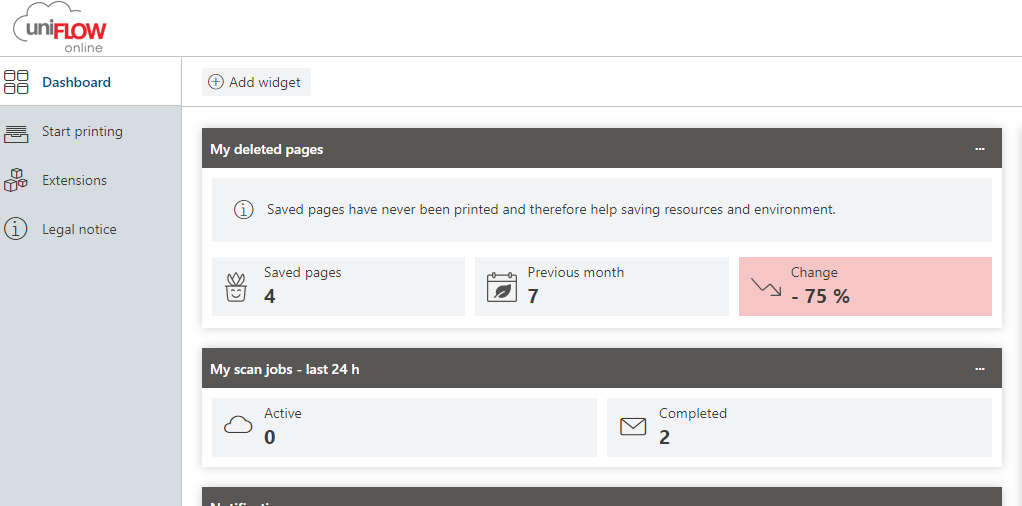
When a student logs into Uniflow online, they must add the widget ‘My Budget’ to their dashboard.
Login to Uniflow online https://rgu.uk.uniflowonline.com/#Dashboard, Please note this will not work from a mobile device, only from a web browser on a PC/Mac. We will be adding Pay functionality to the Uniflow mobile app, but this is not available at this time.
Click Add widget.
Choose the Widget My Budget
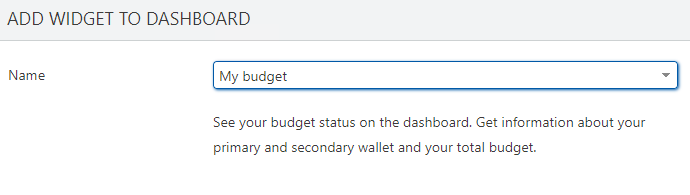
From the Budget Widget the student can then add funds
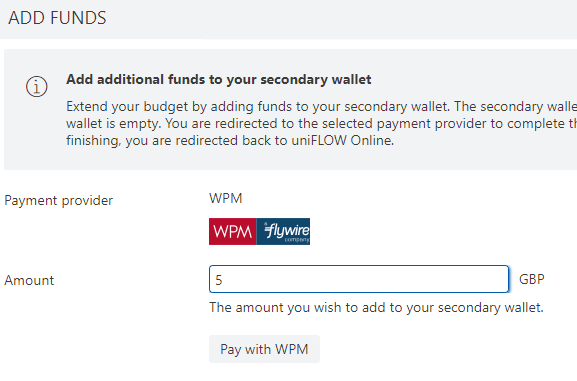
Click Add Funds

Enter the amount and select Pay with WPM
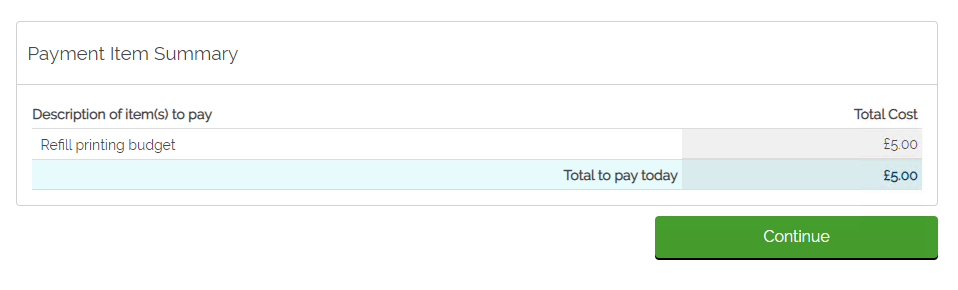
Check the total to Pay and press Continue.
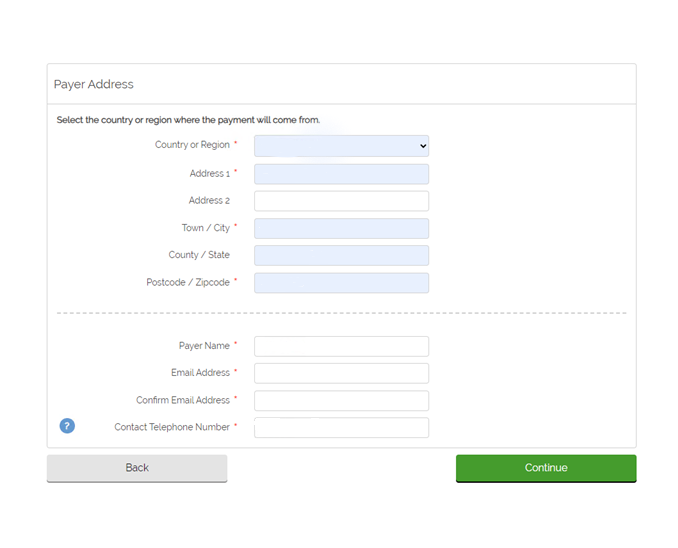
Enter the card holder details and then click Continue.
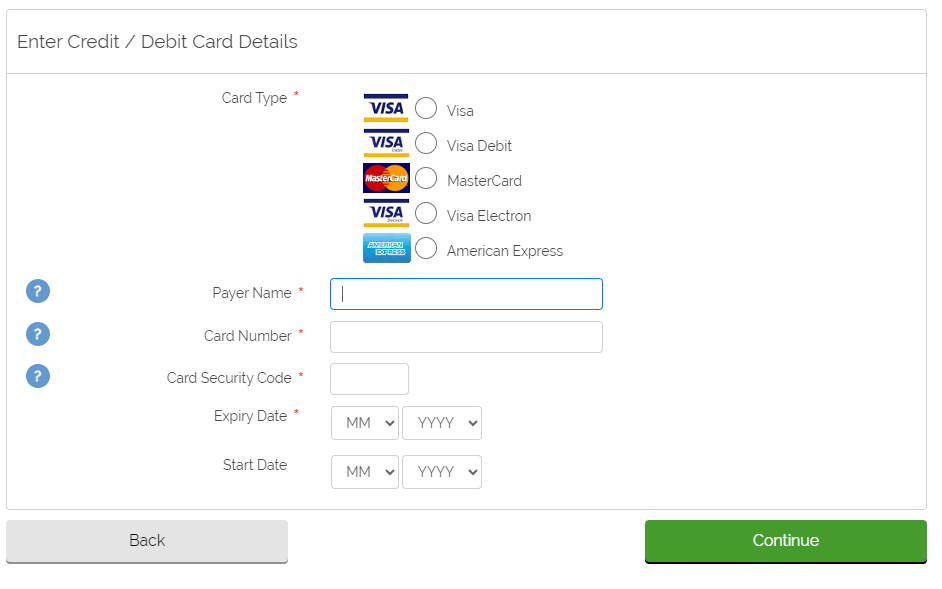
Enter your credit/Debit Card details and click Continue.
Review the Payment summary and click Confirm.
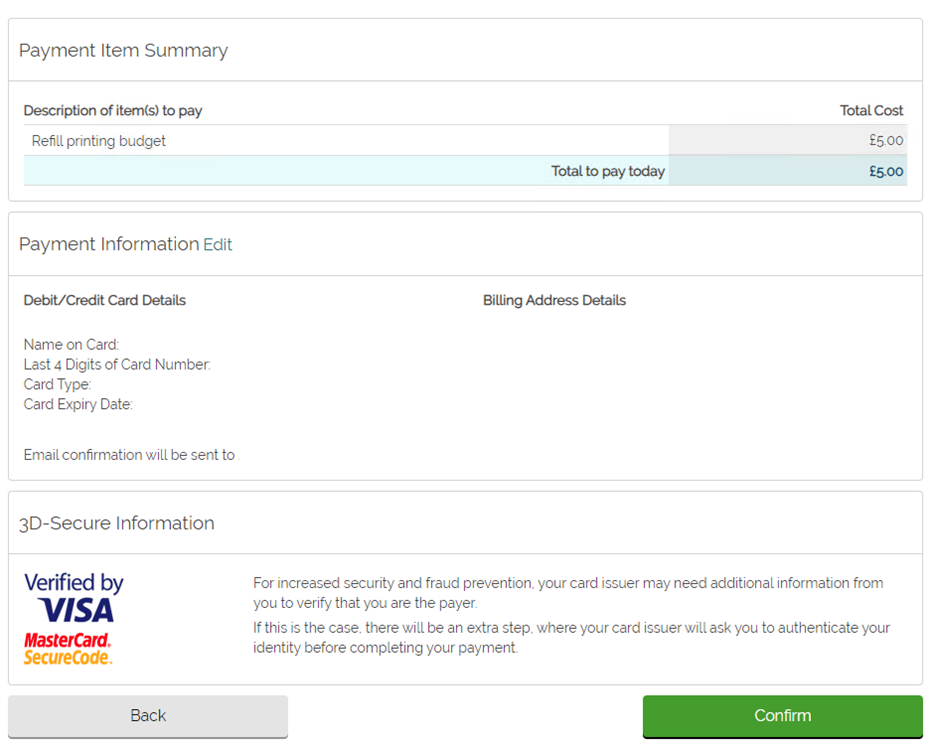
An automated email will be sent to the email address of the Payee mentioned above.
How to print on Campus
Uniflow is the new print system set to replace the Pharos print system.
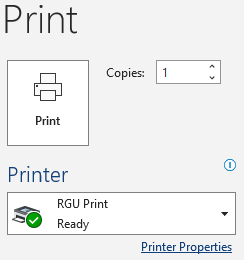
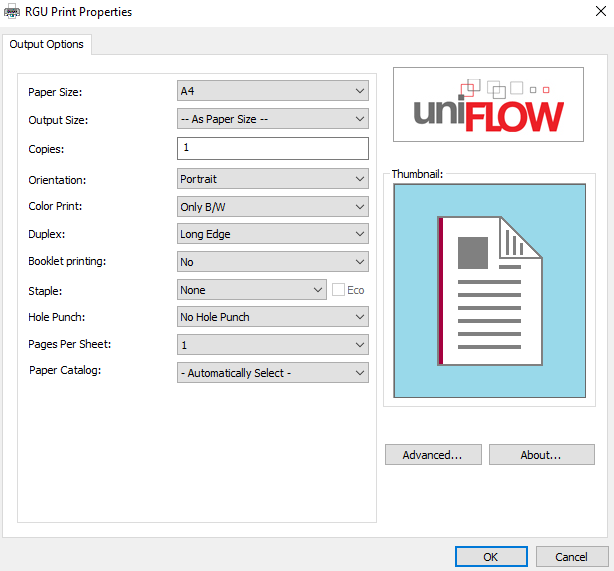
You can print on campus from any RGU Device by selecting RGU Print as below.
Clicking on Printer Properties will give you the option to select Colour Printing if required as well as several other options.
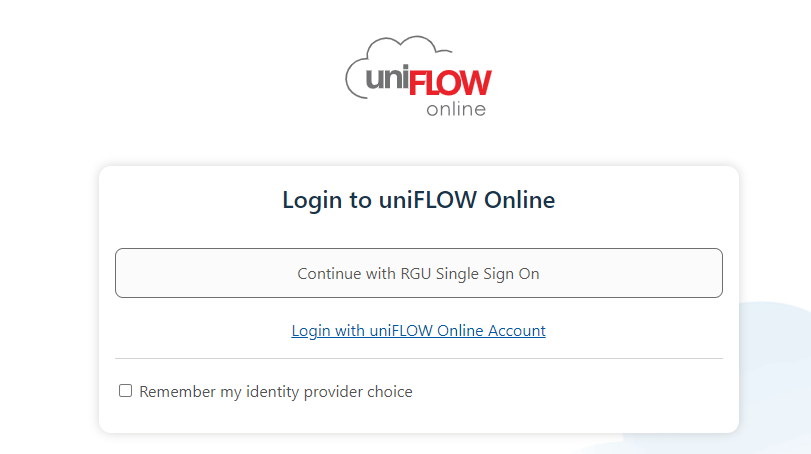
You can sign into the portal using the following link: https://rgu.uk.uniflowonline.com/#Dashboard/ using your RGU email address and password. Make sure to select the “continue with RGU single sign on” option which should take you to the usual RGU login screen.
From there, you can view your details, PIN code and other user information. You can also use the “start printing” tab on the left-hand side to drag files you are looking to print into the print queue.

Each user is assigned a username and PIN code. The username is your RGU email address, and the PIN code will be sent to you via email.
On your first login to the Uniflow print system, place your card on the reader and it will then prompt you for your PIN code. Enter the PIN to register the card as a login method. This means you will only need to enter your PIN code the first time and any further logins will only require a tap of your staff or student ID card on the reader, as pictured below.

Once logged in, you will see the screen below and can select from any of the options. Please log out by pressing your username in the top right-hand corner and log back in before printing.

To send a print to the printer, you can either use the online portal to drag and drop or by using the usual method of selecting print in Word, PowerPoint, etc. The print queue for this one is “RGU Print”. You can also email the print job to mobileprint@rgu.uk.uniflowonline.com which will then make it available to print at the printer.
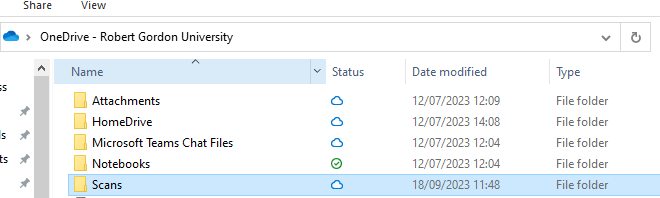
Documents can be scanned to both an email account and a OneDrive account with the files in OneDrive appearing within a folder called “scans”. This can be set up by checking the notifications tab within the Uniflow portal and you will see a OneDrive notification requesting you authorise. If you attempt to scan to OneDrive before authorising, an email will be sent to you with an authorisation link. Once authorised, you can scan to your RGU OneDrive account.
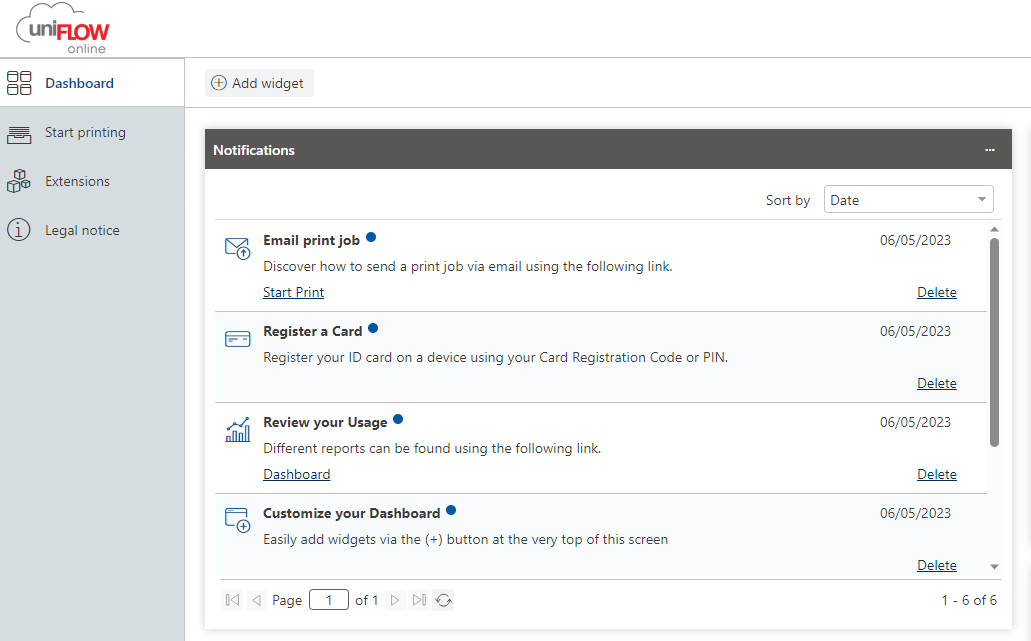
Lastly, the Uniflow dashboard can be customised with various widgets to display statistics and printing activity, such as a pie chart of recent prints, deleted prints and more.
Canon UniFlow Mobile Printing Guide